Your account and colony ownership.
Admission for that playing wallet.
Authorized actions and a gas deposit.
1. Open the right World
Open beltwars.fun/mainnet and sign in with email, Google, or a wallet. Select the wallet you want to play with. If you already have a colony, select the address that owns it.
Belt Wars runs on Base mainnet. Use ETH on Base for entry and gameplay gas.
Supported sign-in and wallets
| Sign-in | What you get | Notes |
|---|---|---|
| A code sent to your inbox; a Belt Wars wallet is created for you on first sign-in | Any email address works. Back up the wallet with Export wallet key in the lobby | |
| Same as email, using your Google account | The wallet belongs to that Google account's sign-in | |
| Ethereum wallet | You play from the wallet you connect | MetaMask, Rabby, Phantom (Ethereum mode), Coinbase Wallet, and any other wallet your browser exposes; hardware wallets through those apps; WalletConnect for mobile wallets |
Only Ethereum wallets are supported, and only on Base. Solana-only or Bitcoin wallets cannot sign in. Email and Google sign-ins are separate from any browser wallet: a colony created with MetaMask is not visible under an email sign-in, and the other way round. If a colony seems to be missing, see My colony is missing.
One wallet address is one player. You can connect several wallets to the same sign-in and switch between them with Playing wallet; each has its own colony, entry payment, and session.
2. Enter the game
The lobby checks your wallet for admission and an existing colony. New players pay entry and create a colony; returning players continue with their existing one. If the lookup is slow, Check again re-reads the chain; a colony created moments ago can take a few seconds to appear.
The mainnet entry page lists 0.001 ETH per wallet, plus gas. Check the amount in the payment review. Keep additional ETH on Base for setup and gameplay fees.
| Payment | What it covers |
|---|---|
| Entry fee | Access to the World for your playing wallet |
| Setup gas | Network fees for entry, colony creation, and session setup |
| Session deposit | ETH used to pay for your game actions |
| Name claim | An optional permanent name; its fee is shown before confirmation |
Entry does not include a prize pool or cash payout. Both the entry fee and the colony creation are signed by your playing wallet; a wallet prompt for each is expected. The colony transaction is tracked automatically once you confirm it, and the lobby opens the game when it is mined.
3. Enable your game session
- 01Playing wallet
Owns your colony. Receives ETH on Base for entry, setup, and session top-ups.
- 02Session account
Receives the gas deposit you choose. Signs game actions and pays their network fees.
- 03Account controls
Open Settings → Account to check gas, add funds, recover unused ETH, or manage access.
Copy the address for the account you intend to fund. The session deposit is separate from the entry fee; 0.001 ETH is a suggestion you can edit.
At Enable your game session, enter a gas deposit. The suggested amount is 0.001 ETH, which you can change. Approve the requests to authorize the session and send your deposit.
Your playing wallet owns the colony. Shared gameplay gas uses a separate wallet recovered through your sign-in. The same account uses the same gas address and balance on phone and PC. It pays gas and signs game actions so you do not need a wallet prompt for every build or transfer. There are no automatic top-ups.
What the session can and cannot do:
| Session can | Session cannot |
|---|---|
| Build, upgrade, train, transfer, send fleets, attack, claim objectives and points | Spend or move ETH from your playing wallet |
| Send several commands back to back; each is confirmed on its own | Pay the entry fee, create the colony, or claim a name (those stay with your wallet) |
| Return its unused gas to your playing wallet on request | Act after you revoke its access |
Authorization is a one-time transaction from your playing wallet; it covers every game system and is renewed automatically by the next setup if it ever runs out.
Open Gas & account settings in the lobby, or Settings > Account in the game, to check your gas balance, add gas, withdraw unused ETH, export the session key, or revoke access. The game warns when gas runs low. Your gameplay wallet is recovered through the same Privy sign-in on phone and PC, including on beltwars.fun. It is not selected from browser storage.
If you used an older browser gas wallet, its ETH stays at that old address. Use Manage previous browser gas on the original device and domain to recover it. Recovery does not switch your active Privy wallet. Withdraw or back up that old wallet before clearing its browser data. See account recovery and recovering unused gas.
4. Choose your client
| Client | Appearance |
|---|---|
| Original | Classic pixel art |
| Reimagined | 3D buildings and units |
Both use the same wallet and mainnet colonies. Switch client / account returns you to the lobby; changing clients does not require another entry payment.
In Reimagined, use the colony view to build, Starbelt to select asteroids and fleets, and Reports for battles, objectives, and rankings. Controls are arranged differently in Original.
5. Build your first colony
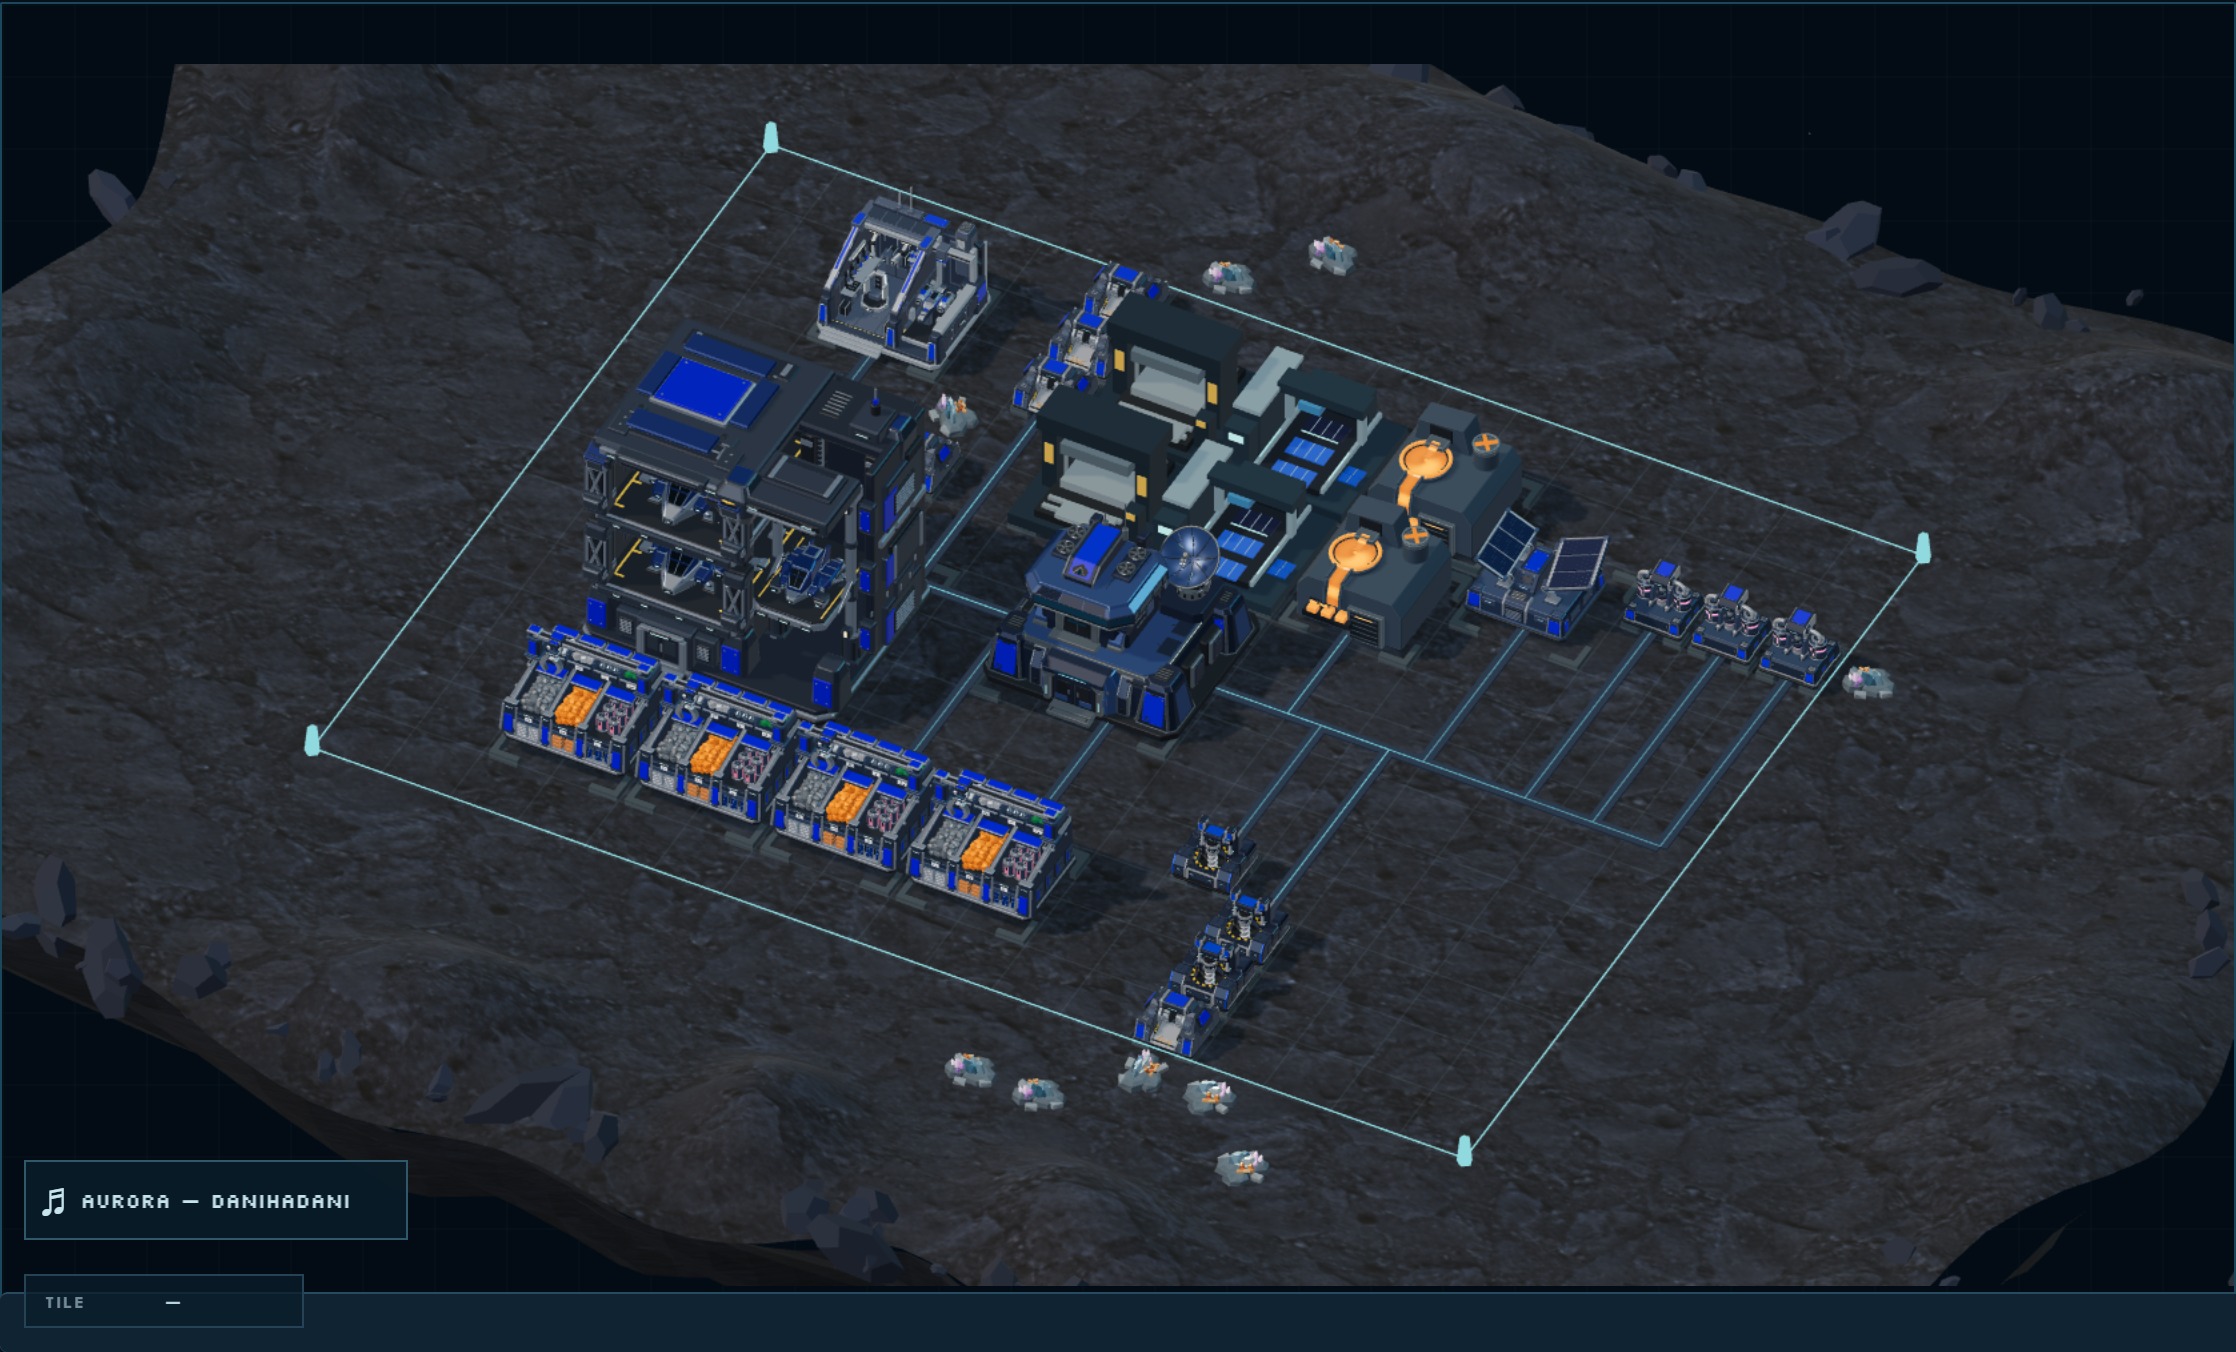
Start with the objectives and the requirements shown on your buildings. A useful opening order is:
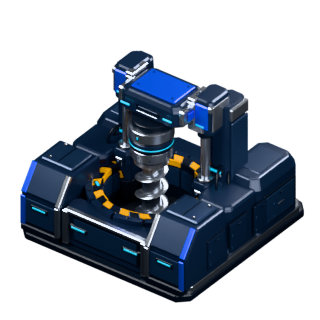
Choose an unoccupied mineral-deposit tile inside your unlocked area.
See how →
Open Objectives. A completed requirement still needs its Claim action.
See how →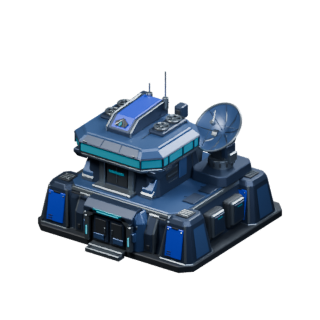
Select the base to review the next level’s cost and requirements.
See how →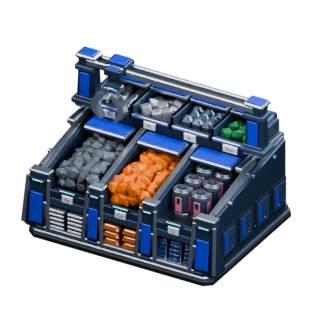
Use Storage Units, Solar Panels, and housing when their limits block you.
See how →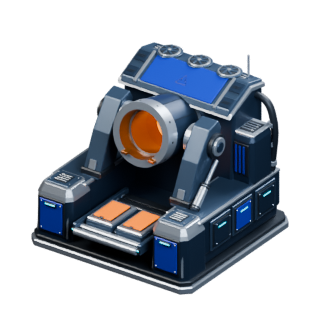
Turn Iron, Copper, and Lithium into manufactured resources.
See how →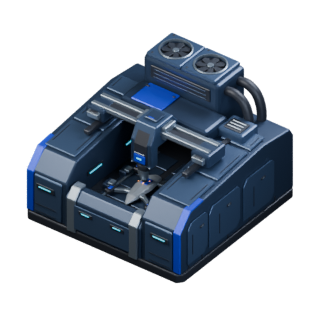
Use a Workshop or Drone Factory, then collect the finished units.
See how →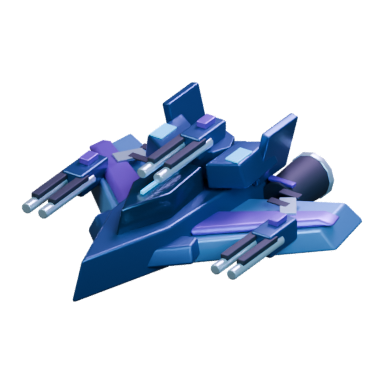
Choose its destination pane and transfer units out of the colony.
See how →Select a step for its full instructions. Images are building and fleet illustrations.
You can place several buildings in a row without waiting: each command is sent as soon as you confirm it and confirms on its own. If your next upgrade costs more than your storage can hold, expand storage first. If training is blocked by housing, add housing before buying more production buildings.
For a full list of what the game contains today, see what exists in the game.
Continue with economy and buildings.
September 2026 edition · Use the game panel for current costs and timers.